
Last updated November 21, 2026
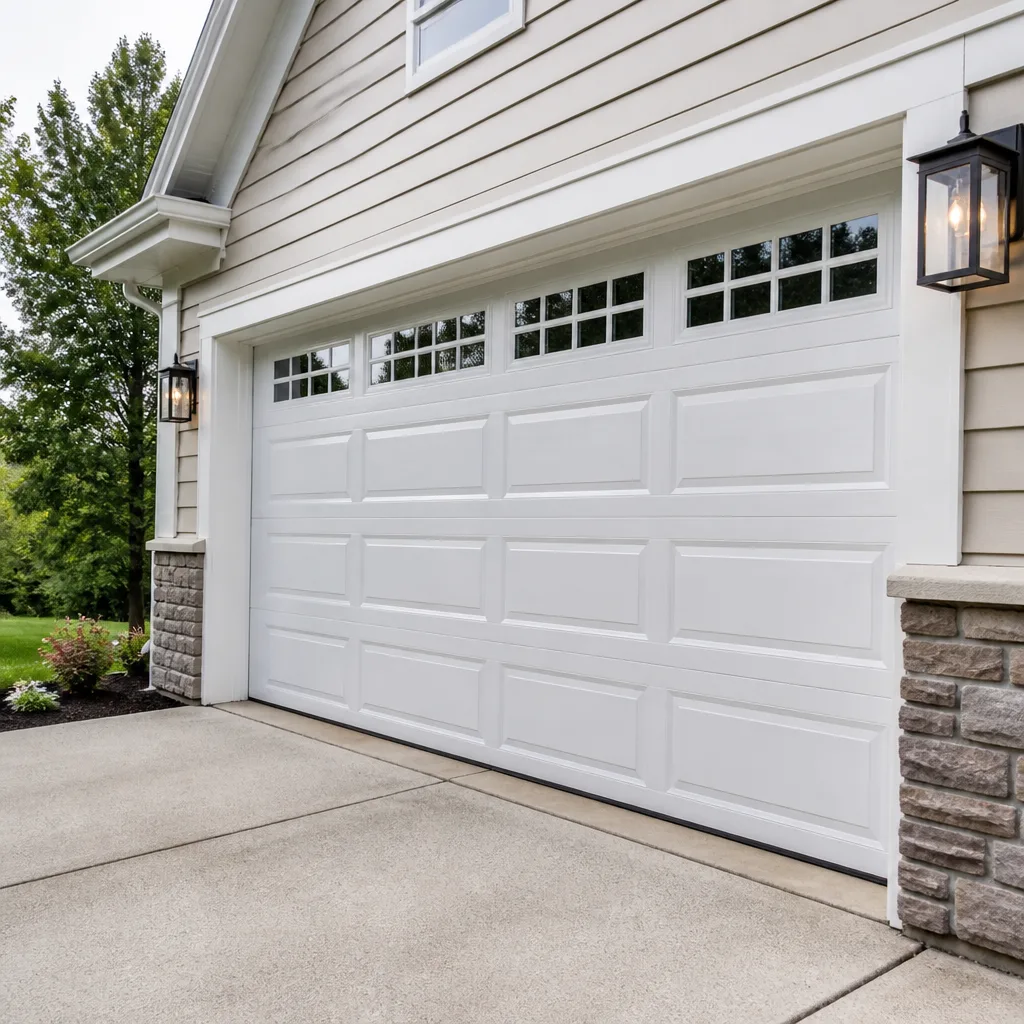 Raised-panel steel
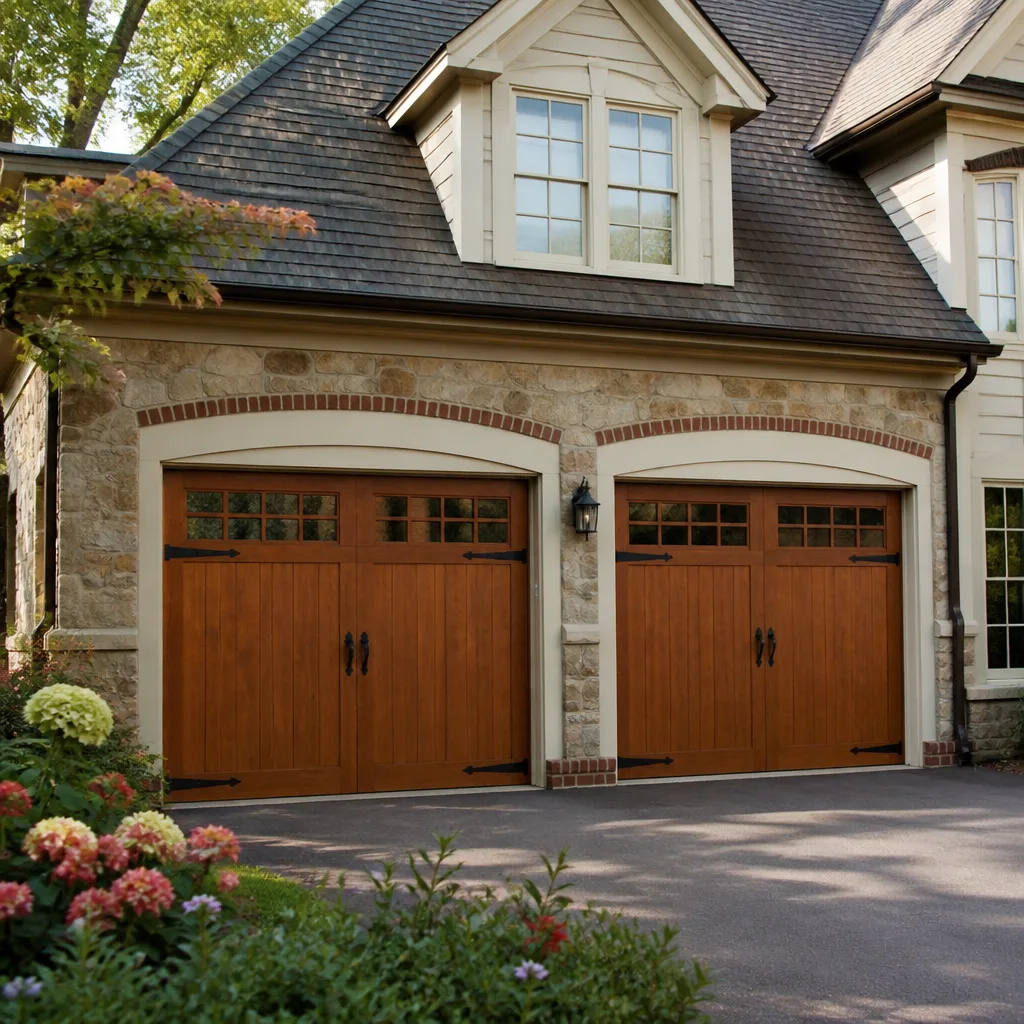 Carriage house
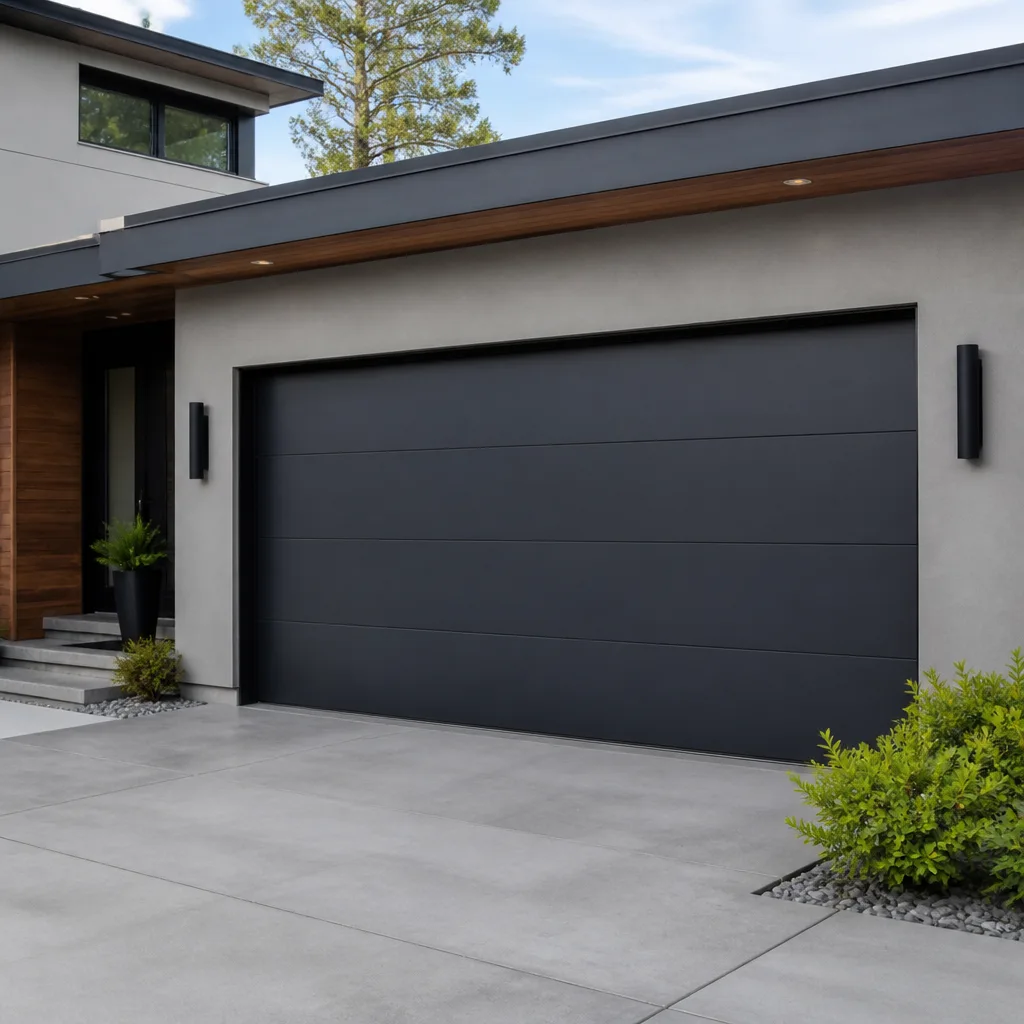 Modern flush
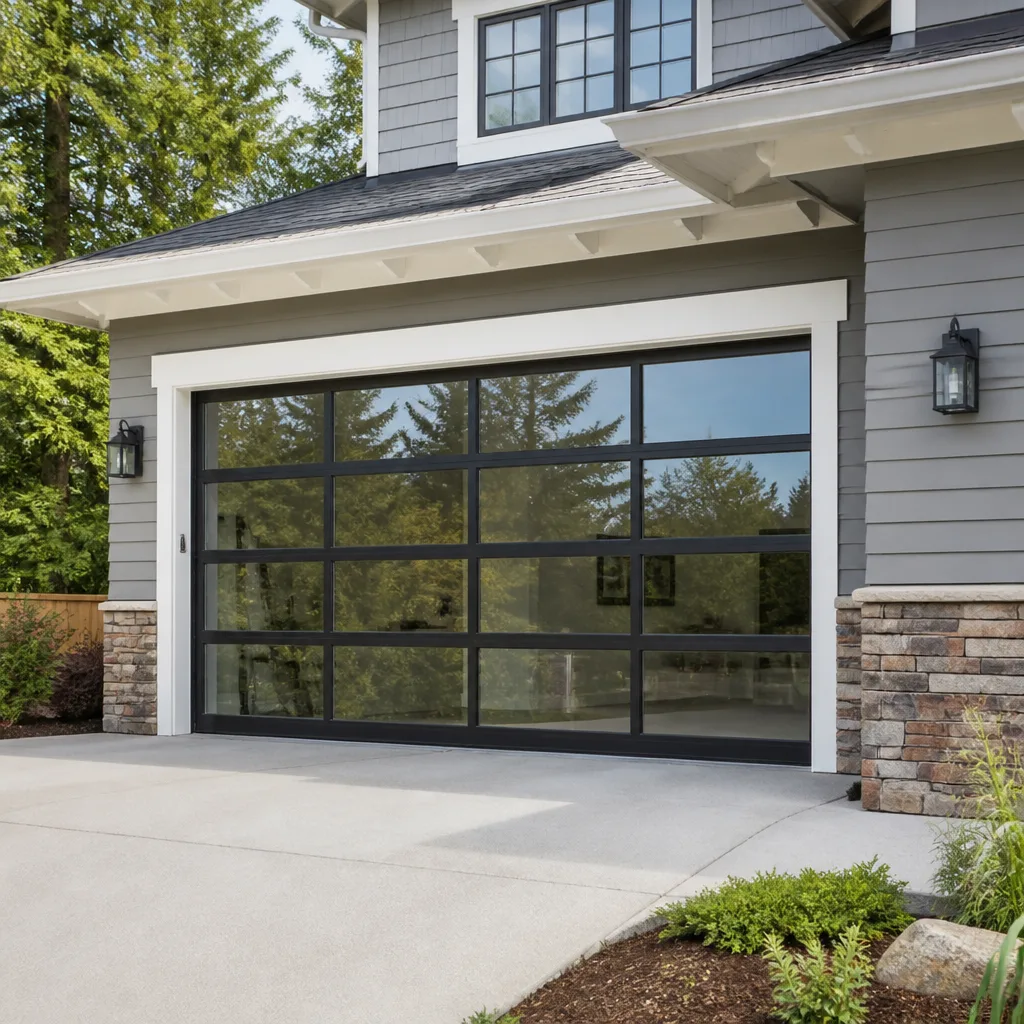 Full-view glass
 LiftMaster openers
 Chamberlain openers
Full 25-point door and opener safety check with every visit - springs, cables, rollers, tracks, and your LiftMaster or Chamberlain opener included
You get a price before we start. It does not change when the pro arrives.
Get your free estimateGarage Door Warning Signs: A Greenwich Village Homeowner’s Reference Guide
A garage door rarely fails without notice. In our experience, a spring that snaps has usually been sending signals for three to six weeks before it lets go – a slightly heavier lift, a new tick in the track, a door that reverses for no clear reason. The trouble is that those signals arrive disguised as minor annoyances, and in a neighborhood where you’re moving fast between the apartment, the street, and whatever the day demands, they’re easy to wave off. This guide is about pattern recognition, not symptom lists. You’ll learn the tactile and behavioral signs that matter most, how to run a monthly three-second lift test, what each sound actually means, and when a small change is telling you a repair is coming. We know these doors because we work on them across Greenwich Village, from walk-up conversions with tight one-car garages to newer builds with smart openers.
Quick Answer
The most important garage door warning signs are behavioral, not visual: a door that feels heavier to lift by hand, a new grinding, popping, or rattling sound, unexpected reversing, visible rust streaking or fraying on cables, and resistance that appears after a cold night and seems to clear by afternoon. Any one of these means the door’s balance, spring tension, or hardware is changing, and it’s worth a professional look before a full failure. If two or more show up together, don’t wait.
Styles & brands we work with
- Raised-panel steel
- Carriage house
- Modern flush
- Full-view glass
- LiftMaster openers
- Chamberlain openers
Table of Contents
- Why Pattern Recognition Beats Symptom Hunting
- The Three-Second Lift Test
- Noise Taxonomy: Grinding, Popping, and Rattling
- When a Working Opener Reverses Unexpectedly
- Reading Cables and Drums: Rust, Fray, and Gaps
- Cold-Night Resistance That Clears by Afternoon
- Know Your Opener, Know Your Door
- Common Mistakes to Avoid
Why Pattern Recognition Beats Symptom Hunting
Most warning-sign guides give you a checklist: does the door squeak? Is there a gap? Those lists catch obvious problems. They miss the ones that build slowly. A better approach is to treat your door like you’d treat your car – not looking for a specific symptom, but noticing when a familiar routine feels different. The door doesn’t have to sound broken to be on its way to breaking.
Here’s the practical version. Every time you open or close the door, your body registers something: the tempo of the opener, the sound at the top of the travel, the slight pause before the door settles. That memory is your best diagnostic tool. When something you do automatically starts to register as “huh,” that’s the signal. It won’t always be dramatic. Sometimes it’s just a millisecond of hesitation mid-travel, or the door sitting a hair short of flush with the floor.
This matters more in Greenwich Village than in a lot of places. The housing stock is old, often hundred-year-old carriage houses and converted townhouse garages where a garage door retrofit went in decades after the building was constructed. The framing around the opening has probably settled unevenly, and that settlement shows up on the door’s hardware over time. A door that was installed true can drift out of alignment season by season. That drift is a pattern, not a single symptom – and it’s exactly what a homeowner most often misses until the door stops entirely.
The right question isn’t “does my door have a problem?” It’s “is my door doing something it didn’t do three months ago?” That reframe is what this guide is built around.
The Three-Second Lift Test
The single most useful warning-sign check you can run at home is what we call the three-second lift test: with the door closed and the opener disengaged, lift the door by hand to roughly waist height and note how it feels, then let it settle and note where it stops. In under a minute, you can tell whether the springs are still doing their job. That’s the whole test. It’s not diagnostic in the sense of telling you a precise part failure – it’s a baseline check that surfaces change early.
Before you run it, disengage the opener the way the manufacturer’s manual describes. If you don’t know how to do that, or if the door is jammed, don’t force it. Any door that won’t lift freely is a sign to stop and get help, not to muscle it.
Here’s how to run it and what each result means:
- Disengage the opener. Pull the release handle or follow the manual’s procedure. The door should now be in manual mode.
- Lift to waist height. Use one hand, feel the weight. A properly balanced door feels light – maybe 10 to 15 pounds of lift, and the springs carry the rest.
- Let go at waist height. A balanced door stays there or drifts slowly. If it drops, the springs are weak. If it rises on its own, the springs are over-tensioned.
- Lower it slowly. The door should come down under control. If it races, the cable or drum assembly needs a look.
- Re-engage the opener by following the same procedure in reverse.
The result to watch for is change. A door that passed the test last month and fails it today – even slightly – is telling you something is weakening. In our experience, that gap is usually a spring losing tension or a cable starting to stretch, and catching it early is the difference between a straightforward garage door repair and a door that’s stuck open with a car stranded behind it.
What the lift test will NOT tell you
The test doesn’t measure cable condition, track alignment, or opener health. Those need eyes and ears. But the lift test is the front door to the whole diagnosis: if the door feels wrong by hand, everything else is downstream. If it feels right, you can usually trust the mechanical system and focus on the noise and behavior checks in the next sections.
Noise Taxonomy: Grinding, Popping, and Rattling
The sound of a garage door is diagnostic information, and not all sounds mean the same thing. Once you learn to separate them, you can usually tell whether you’re looking at a track-and-roller issue, a spring problem, or loose hardware. Here’s the mapping we use:
- Grinding usually means track or roller trouble. A roller that’s worn flat, a track with a dent or debris, or a hinge that’s binding will produce a continuous metal-on-metal grind as the door travels. On an old carriage-house door, the most common culprit is a roller that’s lost its nylon sleeve and is now rolling metal-on-metal.
- Popping or snapping usually means spring stress. This is the sound of a spring under load moving against its torqued position. It can also be a cable slipping on a drum, or a hinge plate that’s popped loose. Popping that appears during one section of travel and not others is more likely hardware; popping that happens at the same spot in the travel every time is more likely spring.
- Rattling is almost always loose hardware – hinge bolts, track brackets, or the opener rail’s mounting bolts. Rattling is the least urgent of the three, but it’s underpinning every other issue. A rattling door is working its fasteners loose, which eventually makes the track go out of alignment, which eventually makes the rollers bind.
The rhythm matters too. A single clunk at the top of travel is often just a stop-limit setting. A repeated tick every few inches of travel is usually a hinge or roller. A sudden pop followed by a smoother glide is a spring moving to a new equilibrium – worth marking on a calendar. The noise pattern is what tells you whether you’re dealing with an annoyance or something that’s going to fail.
One note: in a townhouse garage that shares a wall with a living space, homeowners often describe the same mechanical sound very differently depending on what time of day they hear it. An evening grind that sounds mild is the same sound as a morning grind that wakes the household. Don’t rate the severity by your mood – rate it by consistency.
When a Working Opener Reverses Unexpectedly
An opener that opens and closes fine but reverses before the door fully closes is not a quirk. It’s a safety sensor or logic board warning. The opener is telling you it detected something in the door’s path or lost its position memory, and the reverse is the system doing its job. The job of the homeowner is to figure out which of those two it is, because they need different responses.
The common causes, in order of how often we see them:
- The safety sensors are misaligned or dirty. The small eye sensors mounted at floor level need to see each other across the opening. A knocked mount, a spiderweb, or a film of grime can break that beam. Clean the lenses and check that both LEDs are lit and steady (most openers have an indicator light on each sensor).
- The sensors are being blocked by something moving with the door. A loose weather seal, a hanging tag, or a stray piece of the door’s hardware crossing the beam at one point in travel can trigger a reverse on some cycles and not others.
- The opener’s travel limits have drifted. The opener remembers where “open” and “closed” are. If the door has changed in weight or balance (see the lift test), the limits may need a small adjustment. This is a manual setting and should be done carefully.
- The logic board or force setting is failing. A smart opener – we work on the LiftMaster and Chamberlain myQ ecosystem regularly – will typically flash an error code or push a notification when the logic board reads an out-of-range force. On older Genie and Craftsman units, the reverse may show up without any notification at all.
What we don’t recommend: adjusting the force setting to “make it work.” The force setting exists to protect anything (or anyone) that gets caught in the path. Raising it to push through a resistance problem turns a sensor warning into a crush risk. If the door is reversing and you can’t fix it by cleaning the sensors, that’s a call to a pro – and it’s exactly the kind of diagnosis our garage door opener repair service is built around.
Reading Cables and Drums: Rust, Fray, and Gaps
The cables and drums at the top corner of the door are the second most important component to inspect, after the springs. What you’re looking for is texture and color, not just presence. A healthy cable is a smooth, tight braid of steel. A failing cable is a textured, streaked, or gap-riddled version of the same thing. You don’t need to take anything apart to see the difference – a good flashlight and a look at the top corners will tell you most of what you need.
Here’s what each warning sign actually looks like:
- Rust streaks show up as orange-brown lines running down the cable or along the drum. They indicate moisture has worked into the cable core, which means the cable is degrading from the inside. On a Greenwich Village door, this is common in garages that see temperature swings and condensation – which is most of them.
- Fraying texture looks like a bristle brush where a smooth braid should be. Individual wires have broken and started to unwind. Any visible fray means the cable is holding less than its rated load, and it should be replaced before the door is used again.
- Gaps at the anchor point are exactly what they sound like – a visible space between the cable end and the drum, or a stop fitting that’s pulled away from its mount. This is the cable losing tension and starting to slip, and it’s a sign to stop operating the door.
- Loose or clanking drums – the drum is the spool the cable winds onto at the top of the door. A drum that rocks or clicks when the door moves is out of alignment or failing to hold the cable wind. This is a professional repair, not a homeowner fix.
A note we can’t skip: cables are under load, and the moment a cable or spring lets go, the door can drop without warning. We handle spring and cable work in-house because it’s one of the most dangerous and commonly mishandled repair categories in the trade – a lot of general handymen and hardware stores won’t touch it. If your inspection shows any of the above, don’t operate the door to “see if it’s really a problem.” Call for a free estimate and let a trained technician confirm it. That’s the honest read on cable and spring safety, and it’s the one we won’t compromise on.
Cold-Night Resistance That Clears by Afternoon
There’s a warning sign specific to dense urban neighborhoods with old housing stock, and it goes like this: the door is stiff and reluctant on the first cycle of a cold morning, then by afternoon it lifts normally. Homeowners read this as “normal for the season.” It isn’t. It’s a small, repeatable signal that the door’s mechanical tolerance is narrowing, and the cause is usually one of a few things.
First, thermal contraction. Cold shrinks the steel in the door, the track, and the springs. If a door’s balance margin was already narrow, contraction eats the last of it and the door feels heavy. When the day warms, the margin comes back. That’s not the door working as designed – it’s the door telling you the springs are near the end of their rated range, or the track has a bend that only binds when the gap narrows.
Second, lubricant thickening. Cold stiffens grease and older lubricants. A door that runs on grease past its useful life (rather than a proper door lubricant) will behave differently in cold weather. That alone won’t fail a door, but it compounds the first problem.
Third, condensation and slight ice. In a garage with a steel door and a heated house on the other side, condensation forms on the inside face of the door on cold nights. That moisture can freeze between the door’s bottom seal and the floor, adding resistance on the first cycle. If you’re seeing the door stick at the floor specifically, check for a flattened seal and a floor that has a slight crown from old concrete.
None of those three are emergencies on their own. Together, they mean the door has work to do. We see this pattern in Greenwich Village garages going into every cold season. Catch it with a lift test in autumn and you’ll know whether to schedule the work on your terms, rather than after the door sticks and won’t release.
If your pattern is different – if the resistance keeps showing up regardless of temperature – that’s a spring or cable problem, not a thermal one. Same advice: get it checked.
Know Your Opener, Know Your Door
The warning signs above are universal, but the response depends on what’s installed. A LiftMaster or Chamberlain opener will usually tell you what’s wrong: the myQ app pushes an error code when the logic board reads a problem, and the wall unit flashes a diagnostic pattern. A legacy Genie or Craftsman unit is often silent about the same failure – the door just starts reversing, and you have to reason your way back to the cause. Knowing which category you’re in changes how you read the signs.
We work on the brand you already have, whether that’s a smart opener in a new build or a legacy unit in a converted carriage house. Our technicians are trained across LiftMaster, Chamberlain, Genie, and the broader lineup including Clopay door panels, Amarr, Wayne Dalton, Craftsman, and Raynor. That matters when your warning sign turns into a repair, because the rule we live by is simple: the first diagnostic step shouldn’t be “we’ll need to order the part and come back.” From opener to spring to panel, we cover the whole system, so a brand-specific call doesn’t stall out.
When you call, have the door and opener brand names handy if you can find them. The opener brand and model is usually stamped on the back of the wall control or printed on a label on the opener head. The door brand is often a small decal on the inside face of the top panel. Those two names, plus your description of what the door is doing, let us route you correctly – and in most cases, give you a firm price on the phone before we ever see the door. For newer builds and full replacements, the same team handles garage door installation when the repair isn’t worth doing.
Common Mistakes to Avoid
- Adjusting the opener’s force setting to push through resistance. This is the single most common safety mistake we see. The force setting is a protection, not a workaround – if the door is resisting, raise the force and you’ve turned a warning sign into a crush risk.
- Lubricating with the wrong product. Use a proper garage door lubricant on hinges, rollers, and springs. Grease, WD-40 (as a lubricant, not a cleaner), and cooking oil all attract grit and can make wear worse. Ask when you don’t know.
- Ignoring a door that reverses “only sometimes.” Intermittent reversing is still a sensor or logic problem, and it can hide a blocked beam. A door that works most of the time isn’t fixed; it’s failing on a schedule you haven’t learned yet.
- Prying at the track to “realign” it. Tracks are fastened to framing for a reason. A bend or misalignment usually needs the door lowered to a controlled position first. Prying under load risks dropping the door, and the door is heavy enough to cause real injury.
- Running the door after you’ve seen cable fray or a drum gap. Any visible cable problem means the door should come down off its springs, not up again. Once a cable starts to go, you have very little warning before it lets go entirely.
- Treating “works fine but reverses on the way down” as normal. In a tight Greenwich Village garage with a car parked a foot from the door, a reversing door is a real safety liability. Get it checked.
- Skipping the lift test for months at a time. The three-second check catches spring and balance problems weeks before they fail. If you only check the door when it stops working, you’ve already spent the warning period.
When to Call a Professional
Some warning signs need a phone call, not a weekend project. Call us if any of these are true: your door won’t balance in the lift test, you’ve seen cable fray or a visible gap at the drum, the door reverses on its own, the opener is making a new noise at the head, or the door is heavier after every cold night and isn’t recovering by afternoon. Also call if the door is stuck open, stuck closed, or the spring has visibly snapped – those are situations where you shouldn’t be operating the door at all. Our technicians have up to 12 years of experience and handle spring, cable, panel, and opener work in-house, so you’re not coordinating multiple contractors. Garage Door Repair Greenwich Village offers free estimates in Greenwich Village – call (844) 395-2808. We answer 24/7. Fast dispatch from 7am to 7pm, Sunday through Friday. If a door fails on a Saturday, we’re closed that day; call and we’ll book you into the next opening, Sunday through Friday at 7am.
Frequently Asked Questions
In our experience, a spring that fails has typically been sending warning signs for three to six weeks – a heavier lift, a new pop during travel, or a door that won’t hold at waist height in the lift test. Springs don’t fail silently. If you catch the pattern early, you can usually replace the spring on a scheduled visit rather than as an emergency. The signs are easy to miss because they present as small annoyances, so the lift test is the single best tool for spotting the change before it breaks. Call (844) 395-2808 for a free estimate – estimates are free, and the price is quoted and agreed before any work starts.
Cold weather can make a marginal sensor or a slightly binding track more likely to trigger a reverse. The sensors aren’t the problem; the door losing its balance margin in the cold is. When the door is stiffer on a cold morning, the opener reads more resistance at the close and reverses. That’s a signal to check the lift test and the safety sensor alignment, not a signal to turn up the force setting. If it’s happening repeatedly, get a free estimate rather than living with it.
Some change in sound and feel in cold weather is normal, because steel expands and contracts and the door’s tolerance narrows. What’s not normal is a new grinding, a repeated popping at the same point in travel, or resistance that appears at night and clears by afternoon. Those are the behavioral warning signs this guide is about, and they mean the door needs a look. A sound that only appears when it’s cold and disappears entirely when it’s warm is worth watching, not fixing – but a sound that stays, or that gets worse across a few cold snaps, is your call to book a visit.
No – don’t. Disengaging the opener is a specific step that varies by brand, and forcing the mechanism can damage the opener or release the door unexpectedly. Check your opener’s manual (if you don’t have it, the brand name and model number on the unit are enough to look it up) and follow the procedure for manual operation. If you’re not sure, or if the door is jammed, that’s the point to call rather than push through. A door with a stuck release or a jammed opener is not a lift-test situation; it’s a professional call.
Usually not. An opener that runs and reverses is almost always telling you about the sensors, the travel limits, or a balance problem in the door itself – not a dead opener. The first step is cleaning and aligning the safety sensors, then testing the lift. If the door balances and the sensors are clean and the door still reverses, that points to the force setting or logic board, which is a technician job on most brands including LiftMaster, Chamberlain, Genie, and Craftsman. For a full look at the Garage Door Repair Greenwich Village service, get a free estimate before replacing an opener you may not need to replace.
The local pro we connect you with is licensed and insured as required by their state, and experienced across the brands we’ve covered in this guide. On pricing, the written estimate is the price – we quote and agree before any work starts. If the diagnosis changes what’s needed, we tell you before we proceed, not after. For a free estimate, call (844) 395-2808. We answer 24/7. Fast dispatch from 7am to 7pm, Sunday through Friday.
The Bottom Line
A garage door warning sign is rarely a single dramatic event. It’s a pattern – a slightly heavier lift, a new tick in the track, a reverse that happens once and then again, a cold-morning stiffness that clears by afternoon. The three-second lift test is your best early detection tool, and the noise taxonomy is the best way to tell a track problem from a spring problem from loose hardware. In Greenwich Village, the old housing stock and the seasonal swings put extra work on door hardware, which is why we push pattern recognition over symptom lists. If two or more signs line up, don’t wait for the door to make the decision for you. Call (844) 395-2808 for a free estimate, and we’ll help you read what your door is doing before it fails.
Written by the team at Garage Door Repair Greenwich Village.
See the difference
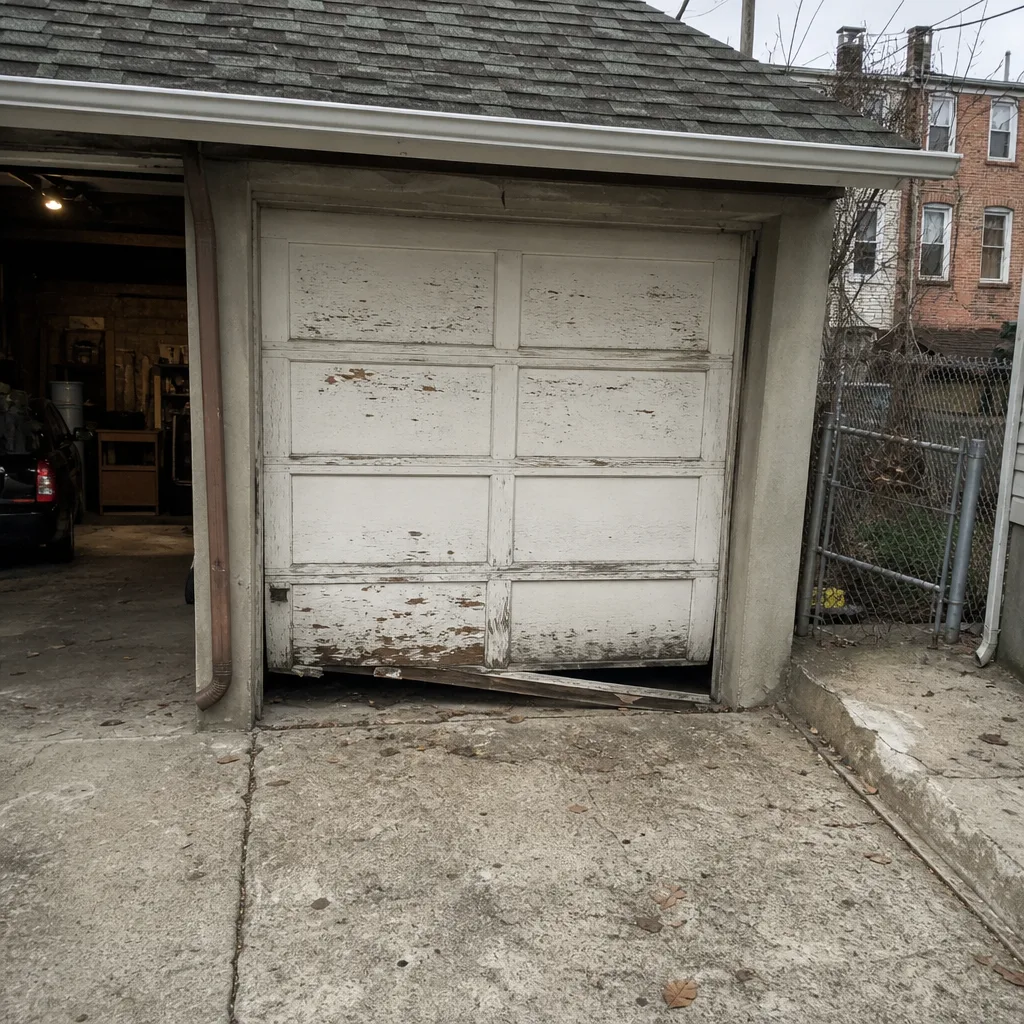 Before
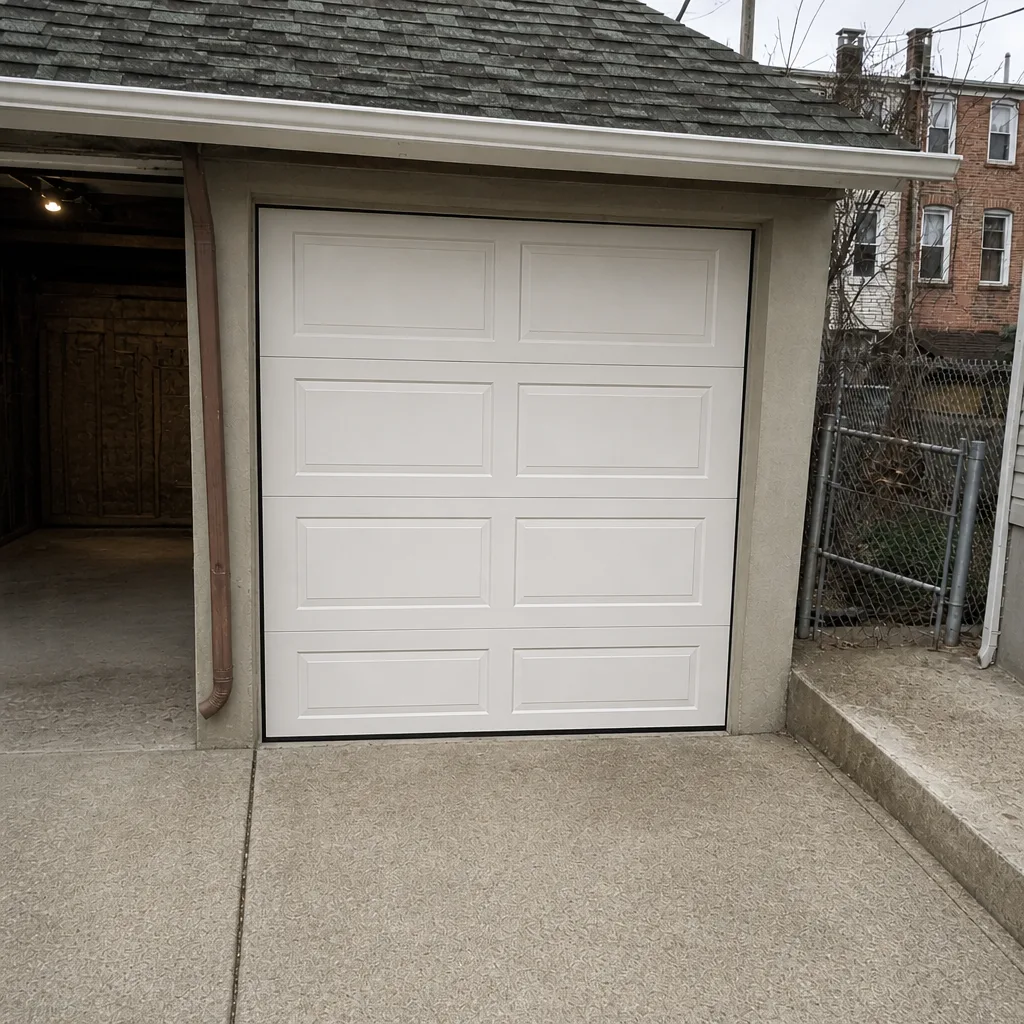 After
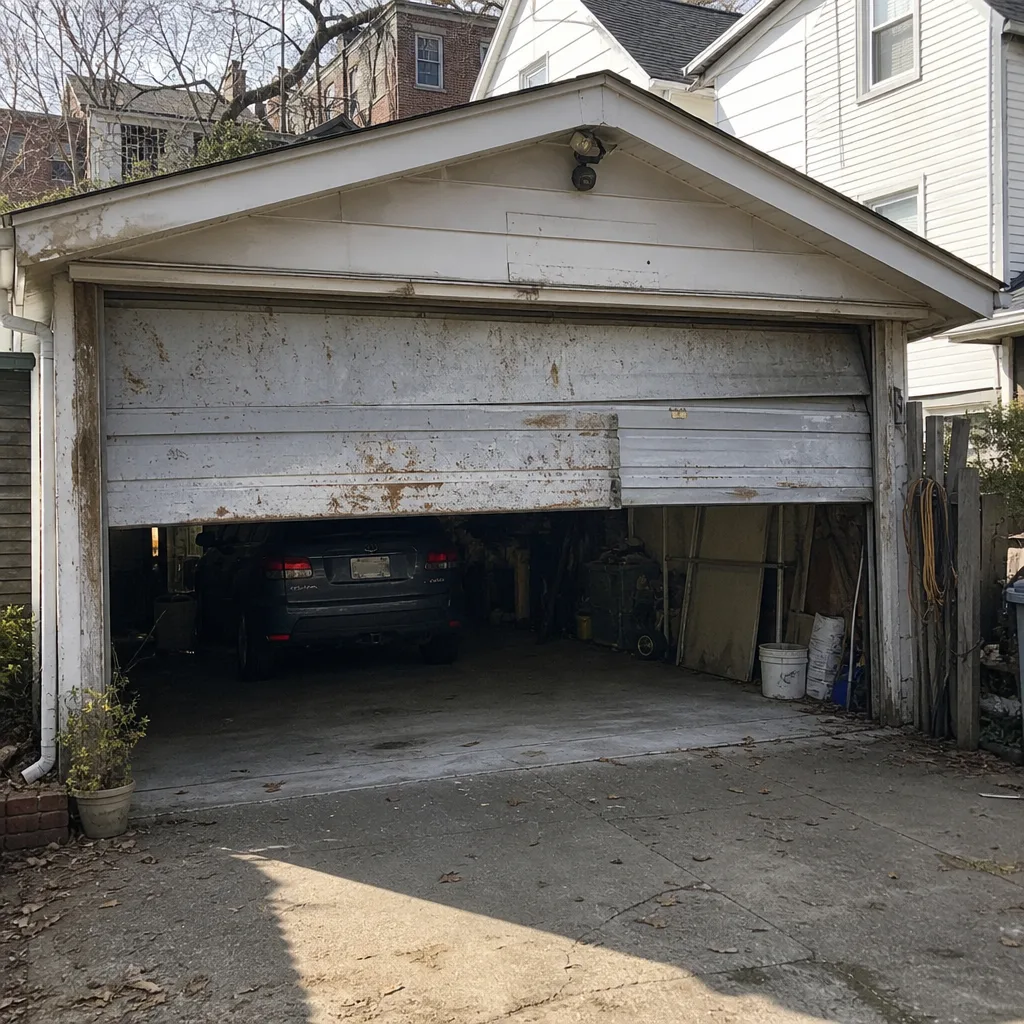 Before
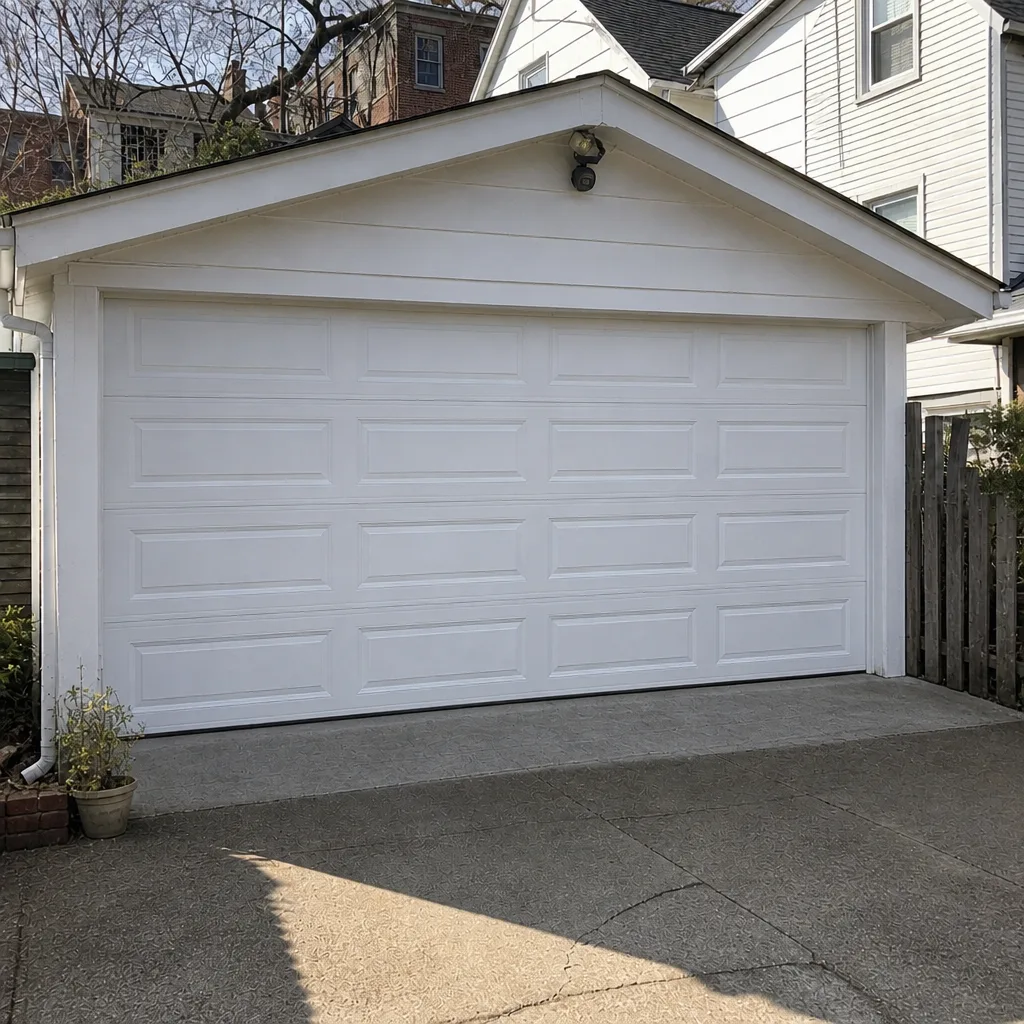 After
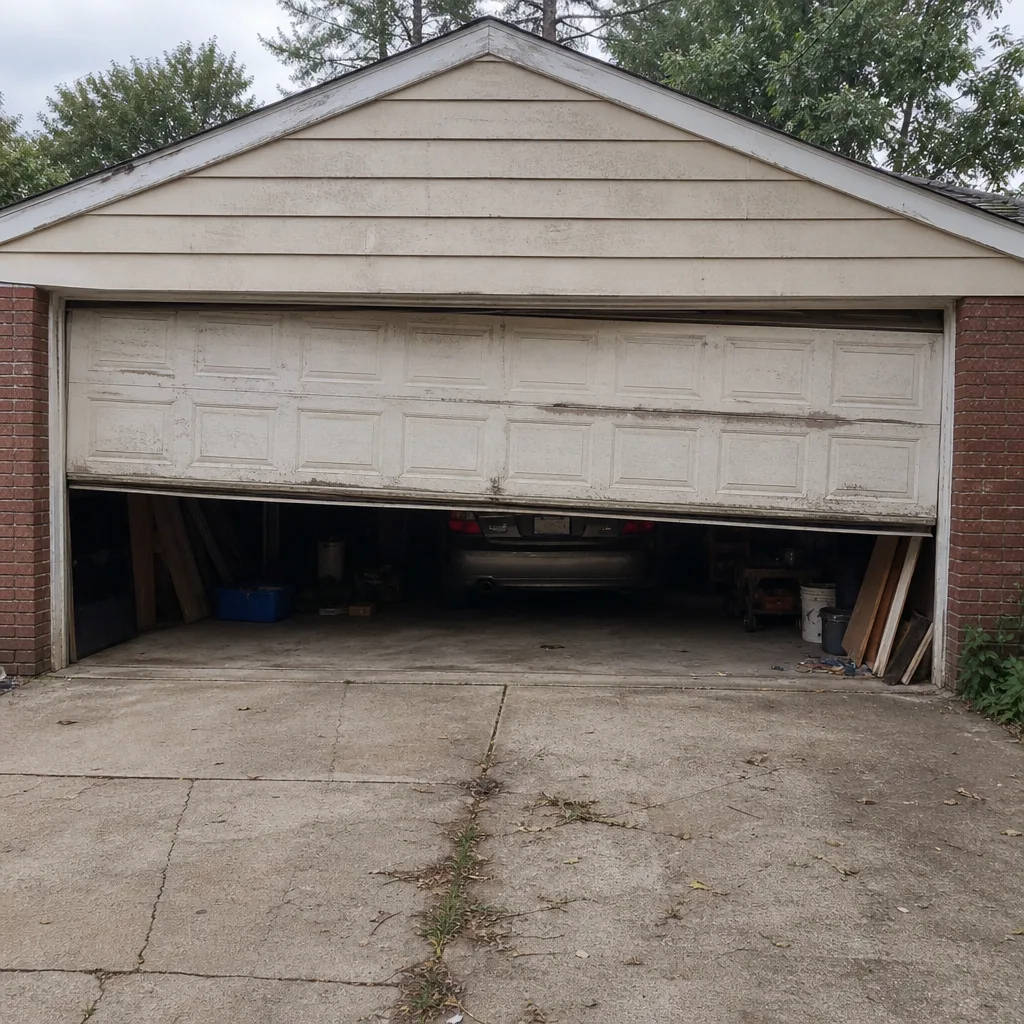 Before
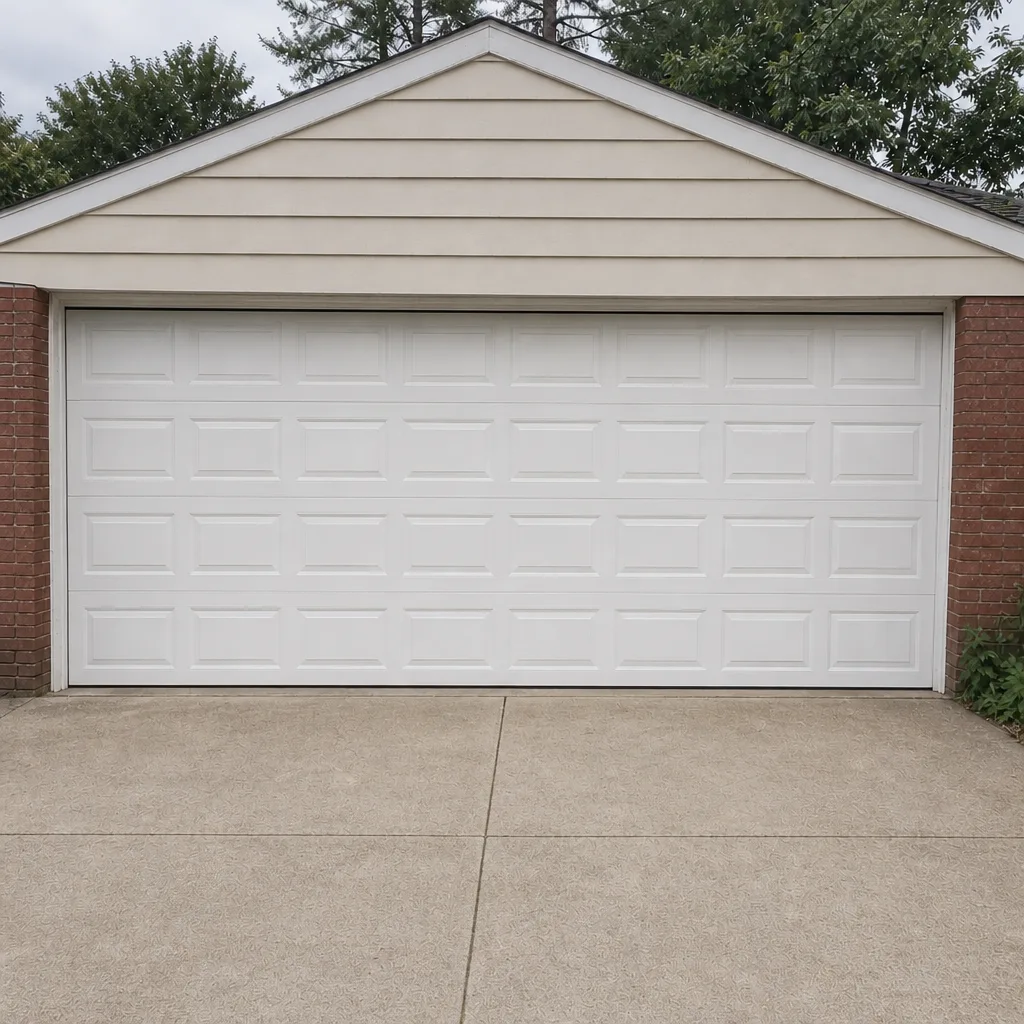 After